Field guide
Random Orbital Sander Rental Guide
Learn what a random orbital sander is for, which grit to use, what OPM means, and how to avoid swirl marks before you rent one.
7 min readUpdated Mar 24, 2026Orbital Sanders
What this guide covers
A shorter path through the article before you move into the full reading flow.
What a random orbital sander is for
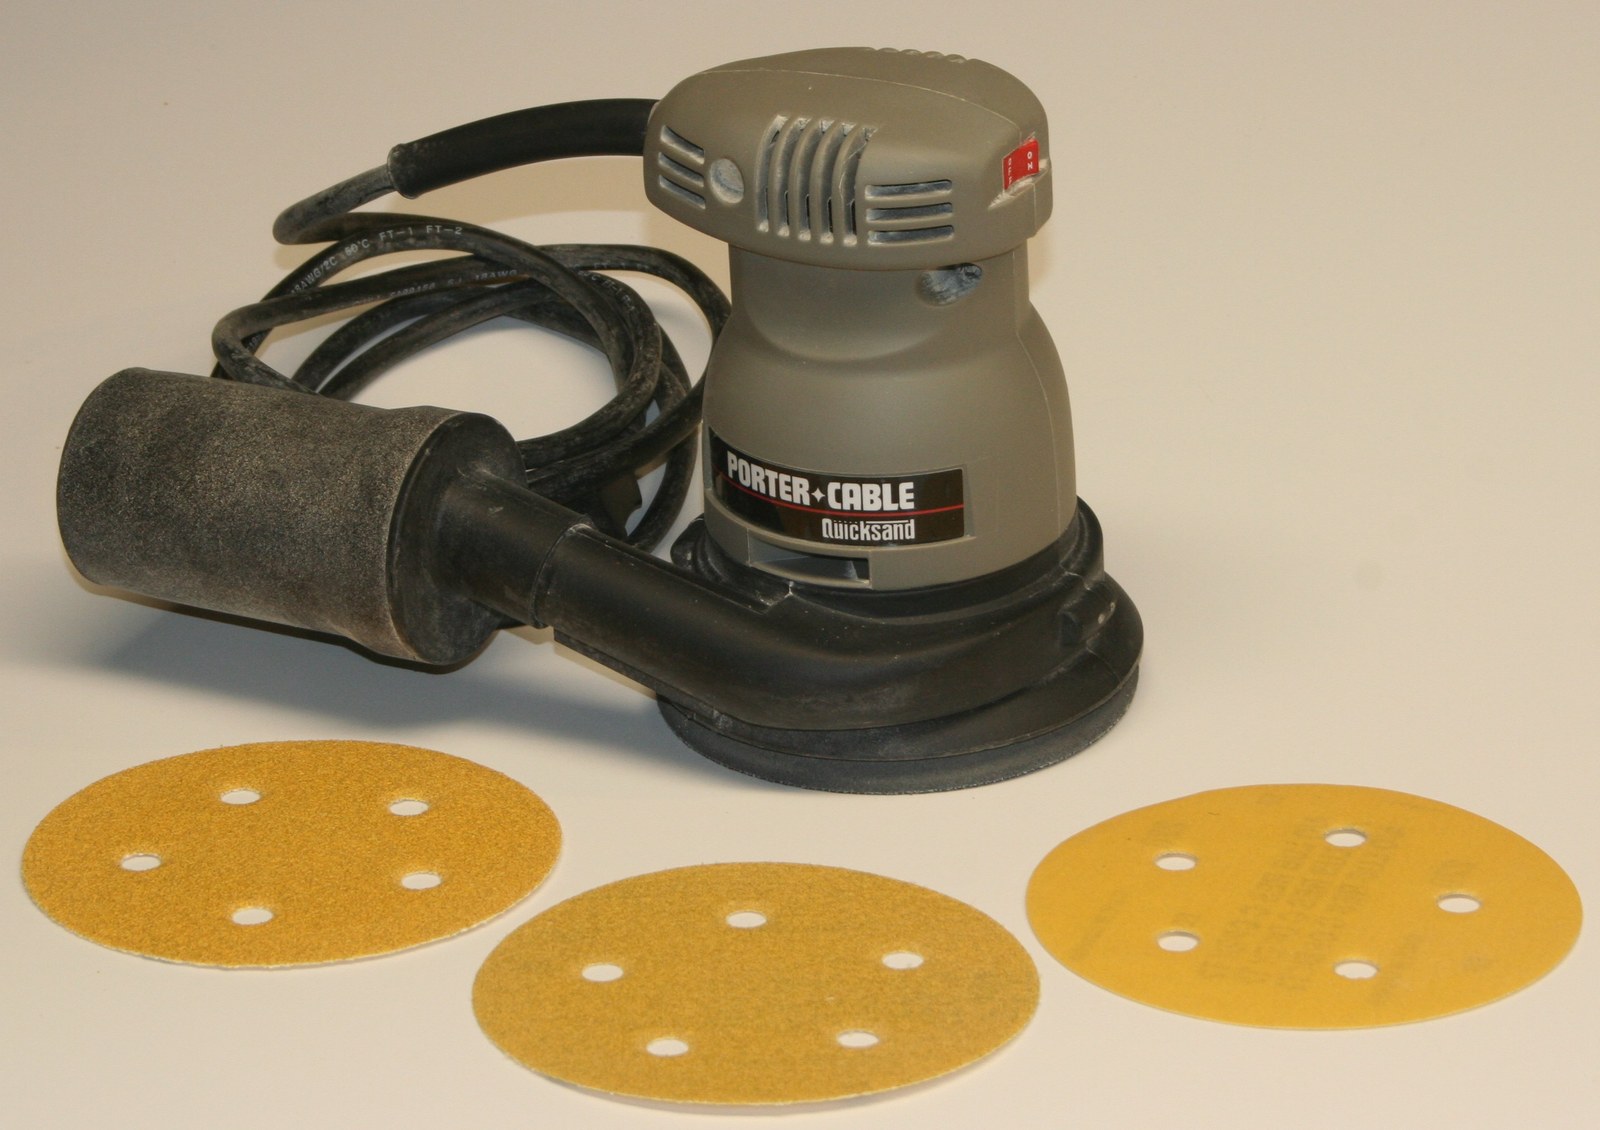
A random orbital sander is mainly used for smoothing wood, removing old finish or light paint, and preparing surfaces between coats.
Jobs it is good for
It removes stock faster than very basic finish sanders while leaving a smoother result with fewer visible swirl marks when used correctly.
What it is not great for
It works best on open flat areas and gentle curves such as table tops, shelves, cabinet sides, and doors.
Reading progress
0% through this guide
An orbital sander is best for smoothing wood, removing old finish, and preparing surfaces before paint, stain, or clear coat. Most rental models use a 5-inch pad, with many variable-speed units running from about 4,000 to 12,000 OPM. For rough sanding, use 80 to 120 grit; for finish prep, use 150 to 180 grit; and for final smoothing, use 220 grit. Keep the pad flat, use light pressure, and connect dust collection whenever possible. Orbital sanders work best on flat or gently curved surfaces, but they do not reach corners well and are not the fastest choice for heavy material removal.
Step 13 points
What a random orbital sander is for
Checklist and notes for this part of the guide.
- 1A random orbital sander is mainly used for smoothing wood, removing old finish or light paint, and preparing surfaces between coats.
- 2It removes stock faster than very basic finish sanders while leaving a smoother result with fewer visible swirl marks when used correctly.
- 3It works best on open flat areas and gentle curves such as table tops, shelves, cabinet sides, and doors.
Step 25 points
Jobs it is good for
Checklist and notes for this part of the guide.
- 1Smoothing tabletops, shelves, doors, trim, and furniture.
- 2Removing old stain or light paint when the finish is not extremely thick.
- 3Sanding filler or patched spots so they blend into the surrounding surface.
- 4Preparing wood between coats of stain, paint, or clear finish.
- 5Light sanding on drywall compound or similar surfaces when the abrasive is appropriate for the material.
Step 35 points
What it is not great for
Checklist and notes for this part of the guide.
- 1Tight corners, because the round pad cannot reach them.
- 2Heavy paint stripping across large areas where faster removal matters more than finish quality.
- 3Deep leveling or aggressive material removal that is better handled by a belt sander or a more specialized tool.
- 4Detail sanding on narrow trim, profiles, or carved pieces.
- 5Most random orbital sanders use a round 5-inch or 6-inch pad, so they are much better on open surfaces than inside corners.
Step 43 points
5-inch vs 6-inch
Checklist and notes for this part of the guide.
- 15-inch: the most common size for home projects, easier to control, and sanding discs are easier to find.
- 26-inch: better for bigger surfaces and faster coverage, but larger in the hands and a bit more specialized for accessories.
- 3For most renters doing furniture, trim, shelves, or door prep, a 5-inch model is the easier default choice.
Step 56 points
Numbers renters should understand
Checklist and notes for this part of the guide.
- 1OPM means orbits per minute, which is the sanding speed.
- 2Many variable-speed models run around 4,000 to 12,000 OPM.
- 3Many fixed-speed models run around 12,000 OPM.
- 4Many home-use corded models are around 3.0 amps.
- 5Common orbit size is around 1/8 inch.
- 6Those numbers matter because speed, orbit size, and pad size change how quickly the tool removes material and how easy it is to control the finish.
Step 65 points
How to choose the right grit
Checklist and notes for this part of the guide.
- 140 to 60 grit: very rough removal and heavy surface defects.
- 280 to 120 grit: general sanding and material removal.
- 3150 to 180 grit: finish prep and smoothing.
- 4220 grit: final sanding before topcoat or final prep before stain on many wood projects.
- 5Move up in logical steps instead of changing one grit at a time. Common jumps are 80 to 120 to 220 or 100 to 150 to 220.
Step 75 points
Job-to-grit cheat sheet
Checklist and notes for this part of the guide.
- 1Old rough tabletop: start with 80 grit, move to 120, finish with 180 or 220.
- 2New wood before stain: start with 120, finish with 180 or 220.
- 3Sanding between coats of finish: often 180 to 220.
- 4Patched filler area: start with 80 or 100, then blend with 120 to 180.
- 5The correct grit progression affects the finish as much as the machine itself, so do not expect 220 grit alone to fix a rough surface.
Step 84 points
How to use speed settings
Checklist and notes for this part of the guide.
- 1Lower speed is better for delicate sanding, finish sanding, thin veneers, and surfaces where heat buildup matters.
- 2Medium speed works well for general wood prep and most home projects.
- 3Higher speed is useful for faster stock removal on larger flat surfaces when the grit is already appropriate for the job.
- 4If the surface is marking, heating up, or loading the disc quickly, back down the speed before pushing harder.
Step 97 points
How to avoid swirl marks
Checklist and notes for this part of the guide.
- 1Start the sander on the surface.
- 2Stop it off the surface.
- 3Keep the pad flat.
- 4Use light pressure.
- 5Let the tool do the work instead of forcing it.
- 6Follow a consistent pattern and overlap passes.
- 7Swirl marks usually come from tilting the pad, rushing the start or stop, skipping grit steps, or pressing down too hard.
Step 105 points
Dust control
Checklist and notes for this part of the guide.
- 1Connect the sander to a dust bag or vacuum whenever possible.
- 2Better dust extraction improves visibility and cleanup.
- 3Multi-hole pads and discs help dust removal through the pad.
- 4Stronger dust extraction can improve abrasive life and finish quality.
- 5A small onboard dust bag is better than nothing, but a shop vacuum or dust extractor usually controls fine dust much better.
Step 116 points
Health and safety
Checklist and notes for this part of the guide.
- 1Wood dust is not harmless. It can irritate the eyes, nose, throat, and skin, affect breathing, and in some conditions contribute to fire or explosion hazards.
- 2Wear safety glasses.
- 3Use hearing protection for longer sanding sessions.
- 4Use a properly selected dust mask or respirator when dust is heavy or dust collection is poor.
- 5Improve ventilation, especially for indoor work.
- 6Stop and rethink the setup if you are filling a room with fine dust, sanding overhead, or working on coatings you cannot identify.
Step 126 points
Limits and expectations
Checklist and notes for this part of the guide.
- 1Orbital sanders are best for surface prep, not major shaping.
- 2They cannot sand square corners.
- 3They remove material more slowly than belt sanders.
- 4Fine finish results depend heavily on using the right grit progression.
- 5Dust collection is much better with a vacuum than with a small bag alone.
- 6If the project needs fast stripping, edge detail work, or corner sanding, rent a more specialized tool with the sander instead of forcing one tool to do everything.
Step 137 points
What to rent with it
Checklist and notes for this part of the guide.
- 1Sanding discs in 80, 120, 180, and 220 grit.
- 2A shop vacuum or dust extractor.
- 3An extension cord for corded models.
- 4Safety glasses.
- 5Hearing protection.
- 6A respirator or dust mask.
- 7A detail sander if the project has corners or narrow trim.
Take the next useful step
Move into the rentals hub or jump straight to the best matching category page.
Navigator
On this page
- 1What a random orbital sander is for
- 2Jobs it is good for
- 3What it is not great for
- 45-inch vs 6-inch
- 5Numbers renters should understand
- 6How to choose the right grit
- 7Job-to-grit cheat sheet
- 8How to use speed settings
- 9How to avoid swirl marks
- 10Dust control
- 11Health and safety
- 12Limits and expectations
- 13What to rent with it
Random Orbital Sander Rental Guide FAQ
Short answers for renters comparing tool fit, job size, and what to confirm before pickup.
Start with the least aggressive grit that still fixes the problem. Many rough wood surfaces start at 80 grit, new wood often starts at 120, and then you move up logically from there.
Browse local rental hubs
Move from advice into the city hub that matches your pickup area and project timing.


Related guides
More short reads if you still need help choosing the tool, city, or booking approach.
Guide7 min read
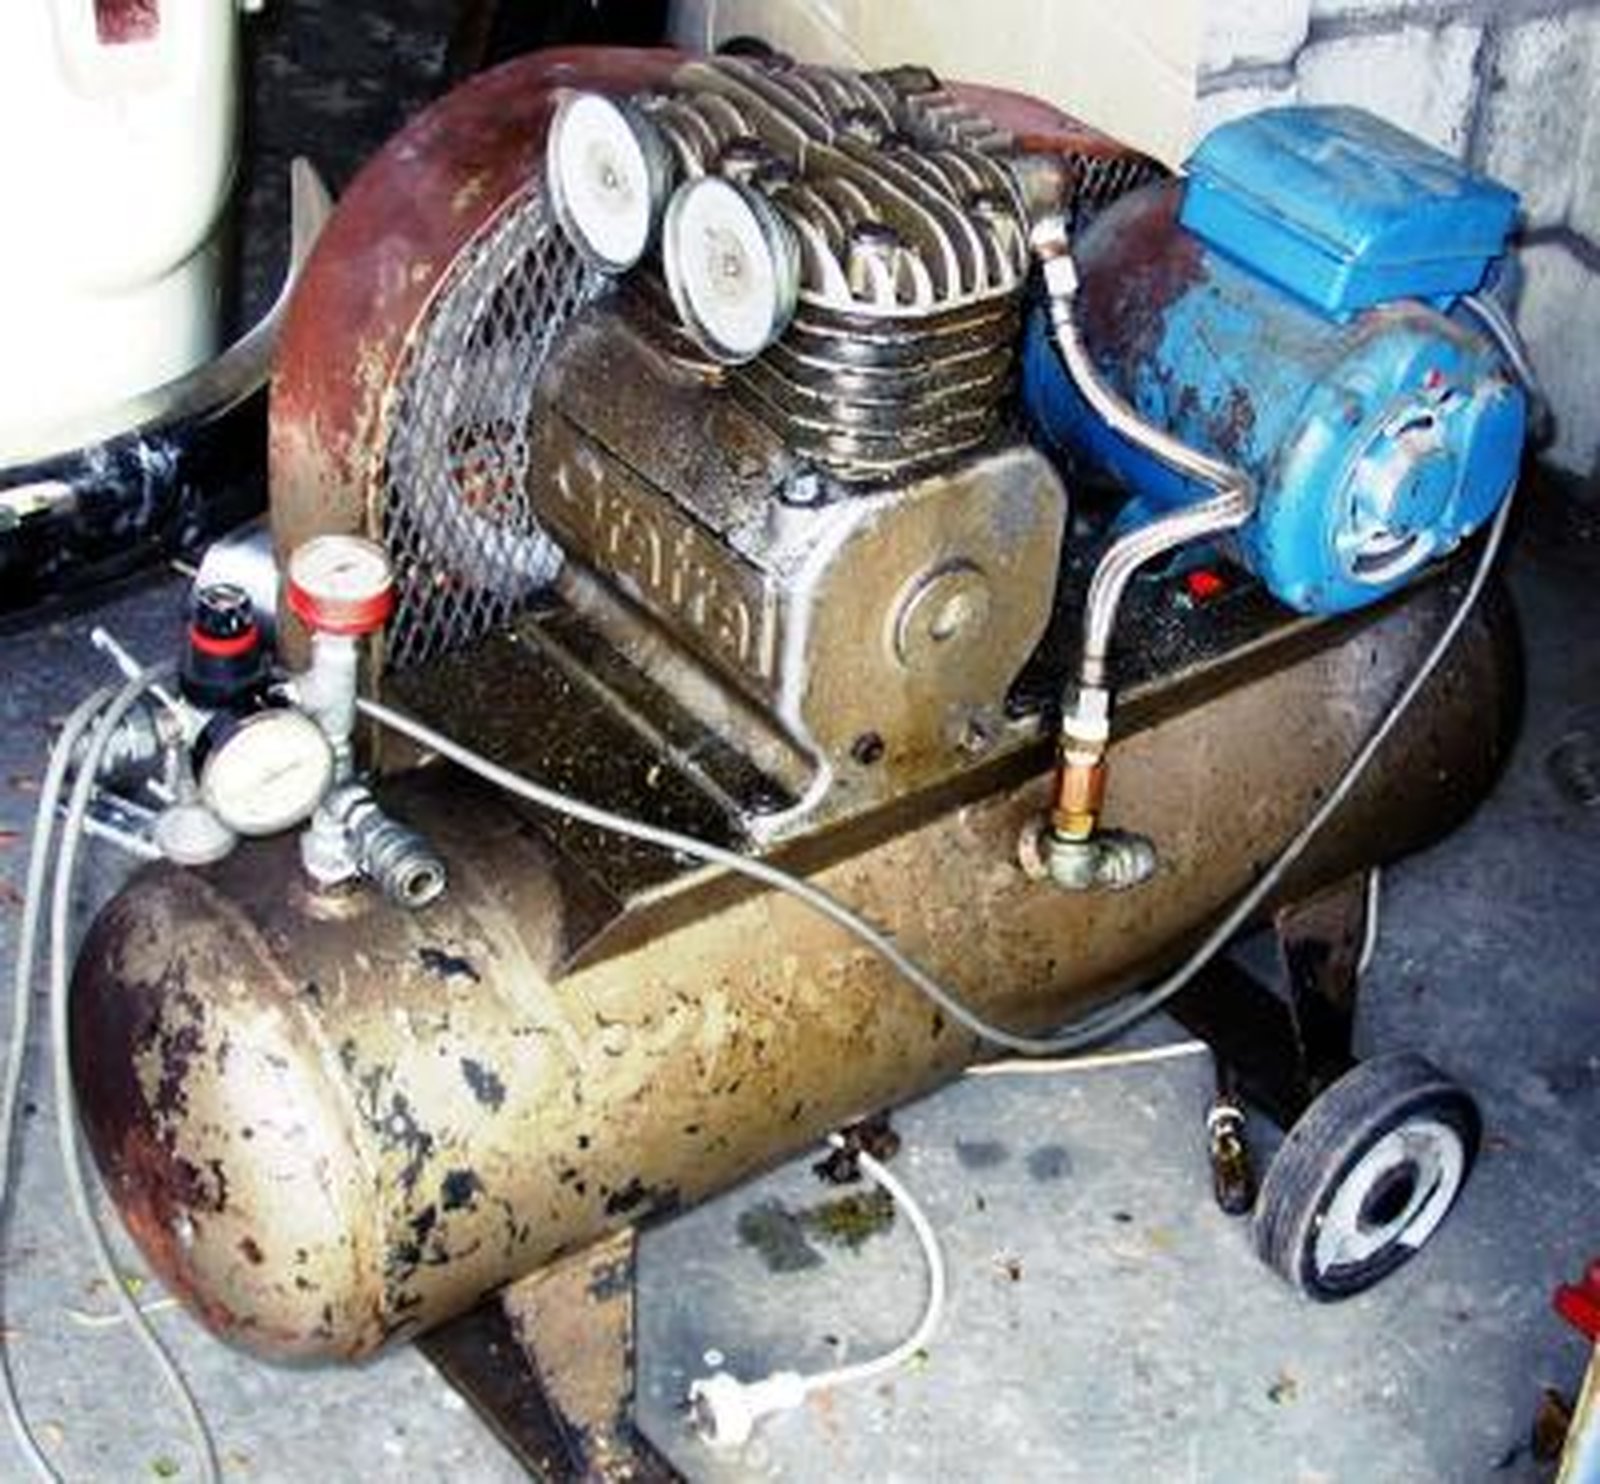
Air Compressor Rental Guide
Match tank size, PSI, and CFM to your nail gun, spray gun, or impact wrench before you re...
Air CompressorsDrillsOrbital Sanders
Practical readOpen guide
Guide6 min read
Dethatcher Rental Guide
Learn when to rent a power dethatcher, what it does, and how to compare it with lawn mowe...
DethatchersLawn MowersLeaf Blowers
Practical readOpen guide
Guide3 min read
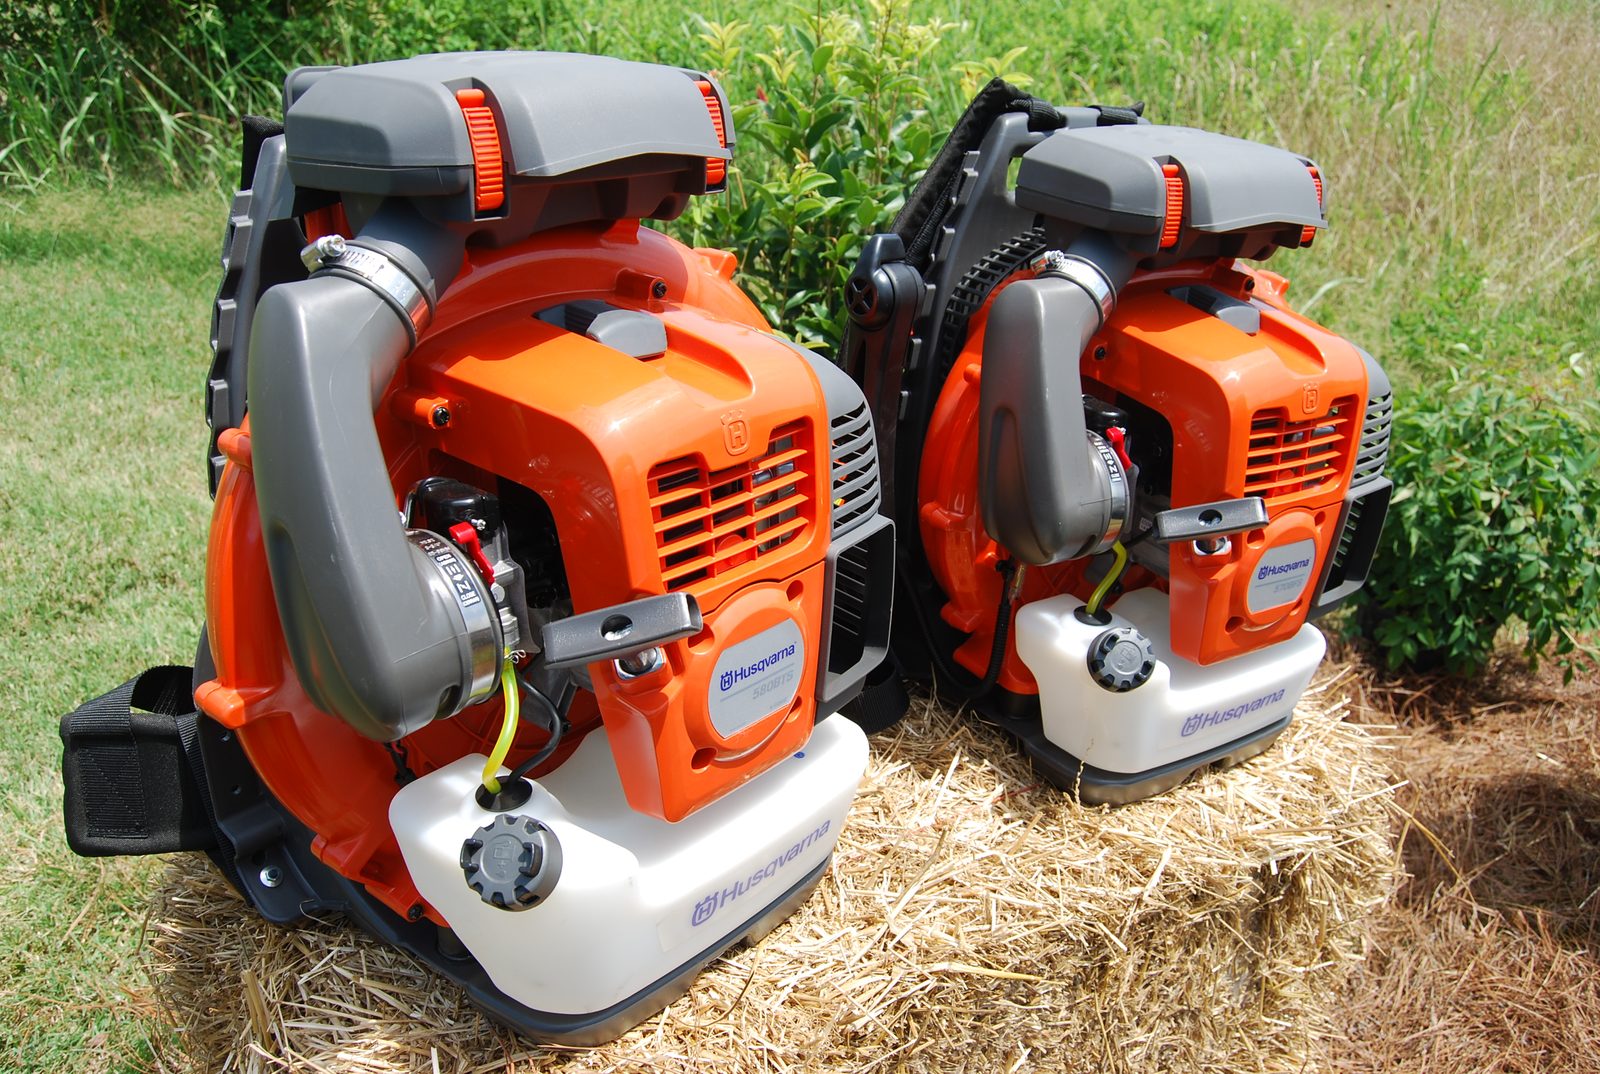
Leaf Blower Rental Guide
Choose the right leaf blower rental by matching CFM, MPH, blower style, and debris type b...
Leaf BlowersLawn MowersPressure Washers
Practical readOpen guide
Ready to rent the right tool?
Move from the guide into the right city hub or category page once the rental path is clear.